
Brewing beer is a great hobby. What other hobby gives you beer? Most homebrewers start out bottling their beer, which is an easy way to get started. Waiting for the beer to carbonate in the bottle is the hardest part (to paraphrase Tom Petty). The only downside is that you’ve got to store all those bottles somewhere. At some point, most homebrewers look at their expanding bottle collection and start to think about kegging their beer as an alternative.
Kegging has some definite advantages over bottling. It’s easy, fast and convenient. There is an initial upfront cost, but once you’re set up, you no longer need bottles and you get fresh beer on tap. It only takes a few days for kegged beer to carbonate (as opposed to two weeks in the bottle). What do you need to get started if you’re looking to keg?
We’ve assembled a quick guide to everything you’ll need and how to keg your beer. The one thing you'll need to acquire that we don't carry is a Refrigerator or Freezer with an external temperature controller. For a five gallon keg it needs to have at least 30 inches of interior height.
Equipment:
- Keg
- CO2 Tank
- CO2 Regulator
- Gas Hose (5 ft)
- Liquid Hose (10 ft)
- Ball Lock Disconnects, Gas and Liquid
- Hose Clamps (at least 4)
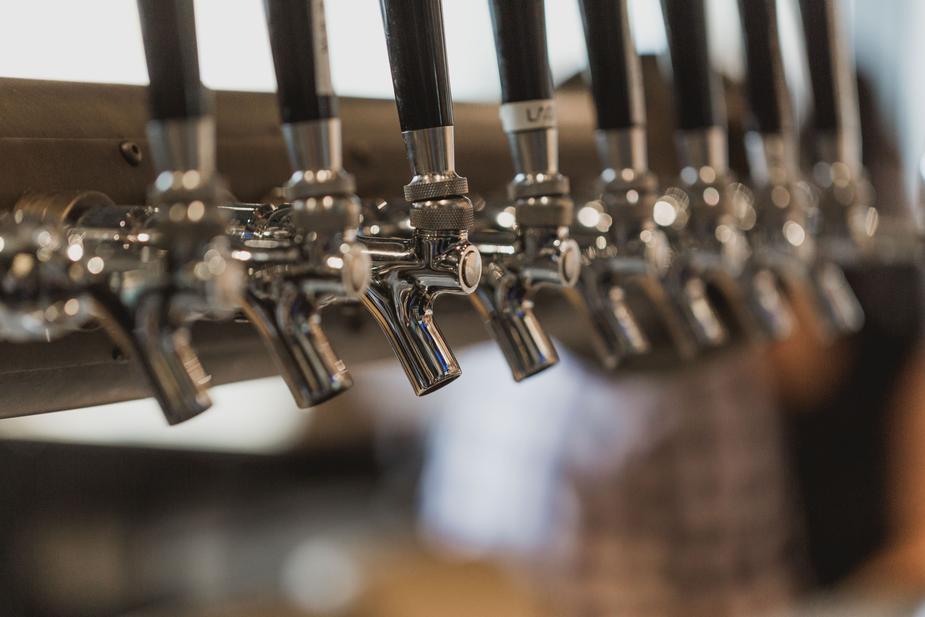
- Picnic Tap or Faucet Shank, Faucet, Faucet Wrench (for kegerator)
The CO2 regulator attaches to the CO2 tank. There is a big knob on the regulator that is used to regulate the pounds per square inch (PSI) of CO2 coming out of the tank. Turning the knob clockwise increases the PSI.

The gas hose connects to the regulator and the gas disconnect (grey) attaches to the other end of the hose. The disconnect will attach to the gas IN post of your keg, allowing you to carbonate and push your beer out.

The liquid out disconnect (black) connects to the beer hose which connects either to a picnic tap or to a faucet shank that you would attach to your fridge or freezer. Attached to the shank would be a faucet for serving, just like a bar. The liquid disconnect attaches to the liquid out post of your keg. To attach the disconnects just push them down onto the keg post until they click. The posts should be marked IN (gas) and OUT (beer). All hoses must be attached with a hose clamp to avoid leakage.


Gas comes in, beer comes out, it’s that simple.
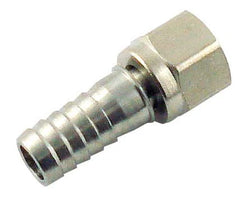
The disconnects come in barbed and flared versions. Barbed disconnects have a hose barb that allows you to attach a hose directly to the disconnect, clamping it on with a hose clamp. Flared ends connect to a flare fitting (called a swivel stem) that attaches to the hose. With a flared disconnect you can remove the hose without taking off the hose clamp.
Now it’s time to keg your beer. Think of the keg as a large bottle. You will be using a soda style keg, sometimes called a corny keg. These are different from professional kegs (called sankeys) as they have separate disconnects for gas in and liquid out and a lid that makes them easy to fill and clean.

When you are ready to package (i.e. transfer) your finished beer, you will rack it into your keg just like you would into a bottling bucket, but without priming sugar. Just remove the lid from the keg and put your sanitized siphon hose all the way to the bottom.The keg must be clean and sanitary and you don’t want to splash your beer when racking. Be sure to pull up the pressure release valve on the lid to release any gas that might be in the keg.
Once all your beer is transferred, attach the keg lid and put the keg in your fridge. Set the fridge at 42F, set your CO2 regulator at 10 psi and attach your gas disconnect to the keg. It will take about 4 days at 42F/10 PSI for your beer to fully carbonate to 2.2 volumes of CO2 (the carbonation level for a basic pale ale). The colder your beer and the higher the PSI, the more CO2 it will absorb, increasing your carbonation. Please see this booklet from the AHA for a chart on how much CO2 you can expect at what temperature and pressure.
After four days it’s time to serve your beer! Not only is it carbonated, but it’s cold and ready to drink. Win win! If you are using a picnic tap, just attach your beer disconnect to your liquid out post and push down on the tap with your thumb. Beer will start flowing, make sure you have a glass under it! For a kegerator attach your beer disconnect just like the picnic tap, pull the handle of your tap forward and dispense your beer. Ideally, into a glass. We use 10 feet of beer hose to restrict the flow of the beer to reduce foaming.
And that’s it! Once your keg is empty, be sure to clean and sanitize it right away. You can then store it under pressure, 10 PSI will do, so it is ready for your next beer.
For detailed information including taking your keg apart for cleaning please see this booklet from the American Homebrewers Association.